Sample Music Curriculum for Beginners (Editable Template)
By Swathi N ·
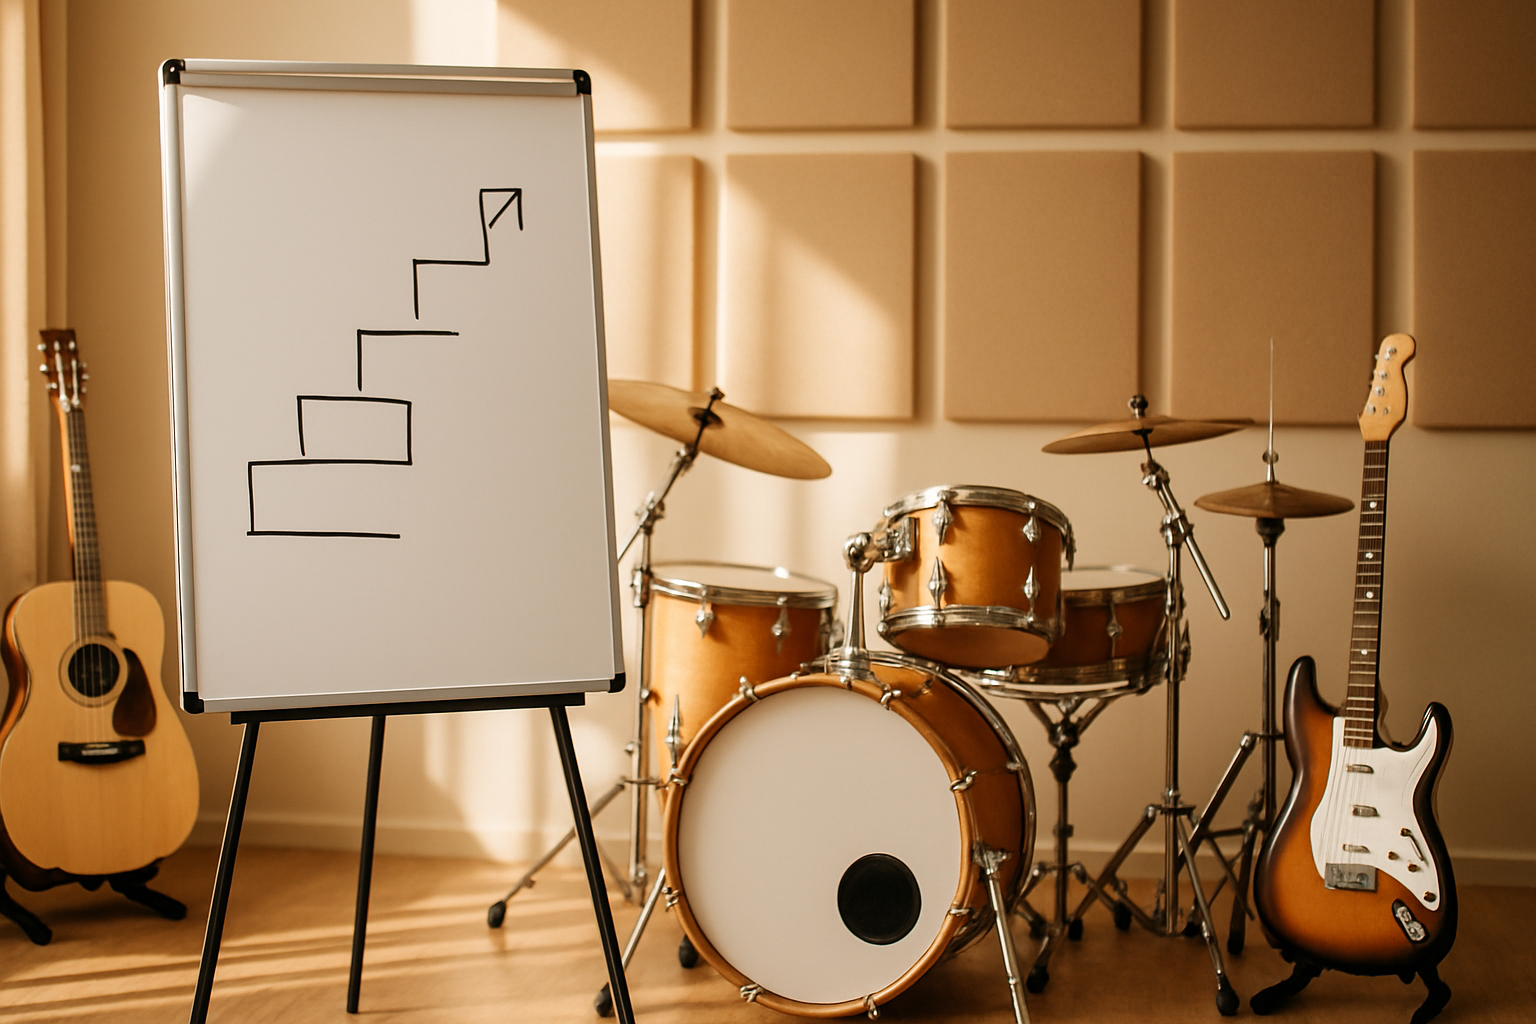
A 12-week beginner music curriculum targeting ABRSM Grade 1 — with sight-reading, ear training & repertoire woven in. Free editable template included.
Picture this: first lesson, a room full of kids (or adults — doesn't matter) who can't tell a crotchet from a quaver and are holding their instruments like they've just been handed something mildly dangerous. That's the starting point. And honestly? Twelve weeks later, the difference is remarkable.
This curriculum is built for exactly that scenario — complete beginners, zero assumptions about prior knowledge, and a clear target: ABRSM Grade 1 level competency by the end of week 12. Every single lesson weaves together sight-reading, ear training, and repertoire work, because isolating those strands is how students end up technically tidy but musically lost.
What does "Grade 1 ready" actually look like in practice? By the final session, students can read simple notation without someone pointing at every note, they can identify basic intervals by ear, and they can perform two short pieces from memory. Not perfectly — but confidently.
The template is editable. Swap the repertoire, adjust the pacing for a slower group, compress it for intensive holiday programmes. The structure holds either way.
How this curriculum is built
The biggest mistake people make with beginner music curricula? They treat it like a checklist — knock out one concept, move to the next, assume it'll stick. It won't. Here's what actually works instead.
Balanced skill diet. Every session splits time across three areas: sight-reading, ear training, and repertoire. All three. Not two of the three when you feel like it. ABRSM Grade 1 examiners assess every single domain, so a student who's never seriously done ear training before their exam is essentially walking in half-prepared. You'll see this more than you'd expect — kids who can play a piece cleanly but can't identify whether the examiner's phrase went up or down. That gap starts in lesson one.
Short, frequent wins. Beginners don't quit because the instrument is hard. They quit because progress feels invisible. So each week here targets one concrete, demonstrable skill — something a student can actually show a parent or a friend by Friday. Not "general improvement." A real thing they can do that they couldn't do Monday.
Spaced repetition over cramming, always. Skills from Week 1 don't vanish at Week 3 — they come back as warm-ups, backing tracks, sight-reading material. The trick is revisiting, not just introducing. One exposure doesn't build retention. Six does.
Error-first teaching. Each week in this plan names the most common mistake students make for that particular skill. Knowing in advance that most beginners rush the left hand in five-finger exercises means you can pre-empt it — before it calcifies into habit and costs you three weeks of unlearning.
And finally: the pacing is a baseline, not a contract. Some students will clear Week 4 goals by Week 3. Others will need two passes at Week 2's material. Both are fine. Because the goals here are skill-based — not calendar-locked — the structure bends without breaking.
Week 1-4: Foundation
If you haven't already sorted your session structure, go read How To Write A Lesson Plan Format Tips Samples And Examples first — it covers the broader planning principles that sit underneath everything in this curriculum, and skipping it tends to show.
Week 1 — Getting Acquainted With the Instrument
Here's something that surprises a lot of first-time music teachers: Week 1 isn't really about playing. It's about orientation. By the end of this week, students should be able to name every white key on a full keyboard — or, if you're working with guitar or violin, every open string and first-position note — and they should be sitting (or standing) without looking like they're bracing for impact.
The week covers a lot of ground, actually. Keyboard mapping runs C through B across two octaves. Hand position and wrist alignment get introduced early — and yes, you'll need to return to both repeatedly. Staff reading starts with treble clef: lines and spaces using the old Every Good Boy Does Fine and FACE mnemonics, which still work, still stick, and there's no reason to replace them. Ear work begins too, just call-and-response clapping in 4/4. Nothing fancy yet.
A rough session breakdown that works well: ten minutes on posture and instrument setup, twenty on note-name drilling and staff reading, five on ear training (you play something, they echo it back). That last five minutes gets treated as optional by a lot of teachers. Don't skip it — it compounds.
Watch the thumbs. Specifically, watch for the thumb knuckle collapsing inward when a student presses a key. It happens constantly with beginners, it's almost always unconscious, and if you don't flag it in Week 1 it calcifies into a habit that causes tension and real technical problems down the line. Correct it on the spot, every time.
End-of-week check: the student can name ten random white keys without pausing to work it out, and clap back a four-beat pattern correctly. Both. Not one or the other.
Week 2 — Reading Crotchets and Minims
Start every session this week with the C major five-finger exercise — C, D, E, F, G — hands separate, no shortcuts. Do it before anything else. It's not glamorous, but it's the foundation everything this week sits on.
The actual target: by Friday, students should be able to read and play crotchets and quarter notes alongside minims and half notes in 4/4 time, staying within that five-finger position the whole time. Two note values, one hand at a time, one small stretch of the keyboard. That's the week.
Here's how the session time breaks down — 10 minutes on the five-finger warm-up, 20 minutes on sight-reading drills and hands-separate practice (two-bar melodic fragments, nothing longer yet), and 5 minutes on ear training. That last bit is dead simple: play two notes and ask "step or same?" You're building interval recognition for unison and the major second, and students respond well to the binary choice.
Watch for this: most beginners will drop their eyes to their hands the moment the reading gets hard. It happens almost every time. Get ahead of it — stick a small sticky note on the music stand at eye level as a visual anchor. It sounds trivial. It works.
Counting aloud while playing isn't optional this week. If they're not vocalising the beat, they're not really reading — they're guessing and recovering.
End-of-week check: the student sight-reads a four-bar melody in the C–G range using only crotchets and minims, counting aloud, without stopping to correct themselves. No backing track, no prompts.
Week 3 — Adding the Left Hand
So the right hand's doing its job — but now we're asking both hands to think at the same time. That's where Week 3 gets interesting.
The target is simple enough on paper: left hand holds down root notes (C through G in bass clef), right hand carries the melody, and the two of them stay together at crotchet = 60. That last part — staying together — is where things fall apart for most beginners.
Because here's what actually happens. Students have a stronger hand. They don't know it yet, but they do. And whatever that hand is doing, the weaker one quietly drifts behind it, half a beat late, catching up, falling behind again. It's not laziness — it's just where the brain's attention goes. The fix is a metronome, and it needs to be there from the very first hands-together attempt in this week, not introduced later as a corrective measure.
Bass clef note names are new territory here too. Good Boys Do Fine Always for the lines, All Cows Eat Grass for the spaces — the mnemonics are old but they work, and students genuinely remember them. Don't rush past this. Five minutes spent drilling bass clef recognition pays off for the rest of the programme.
Session shape for the week:
- 10 minutes hands-separate warm-up
- 20 minutes hands-together coordination (this is the heavy lifting)
- 5 minutes ear training — just up or down? rising or falling intervals?
G major five-finger position gets introduced this week too, sitting alongside the C major bass work they're consolidating.
By the end of Week 3, students should be able to play a four-bar hands-together piece at crotchet = 60 — without stopping mid-bar to find a note. No hesitations. That's the bar.
Week 4 — First Repertoire Piece
Here's a question you're probably asking yourself around now: when do I actually let them play something real? Week 4 is that moment.
The target piece is either the simplified "Ode to Joy" melody (Beethoven) or "Au Clair de la Lune" — both work, both are 16 bars, and both are achievable hands separately by the end of this week if you've been consistent. Don't rush to hands together. That's not the goal yet.
Break the piece into its A and B sections and drill each one in isolation before connecting them. Alongside that, you're introducing semibreve (whole note) reading this week — which sounds simple but trips up more students than you'd expect — plus the dynamic markings p and f. Five minutes at the end of each session goes to ear training: sing back a three-note fragment using the sol-mi-la pattern. Keep it short. Keep it consistent.
Rough session split: 5 minutes of technical warm-up, 25 minutes drilling the repertoire by section, 5 minutes on the ear training.
The mistake that shows up almost every time? Students memorise the piece but can't locate themselves in the score. They know the music — but only from bar 1. Ask them to start from bar 5. Or bar 9. Mid-phrase. If they can't find their place without restarting from the top, they haven't really learned to read it.
End-of-week check: student performs either piece from memory, hands separately, with dynamics applied correctly.
Week 5-8: Building
Week 5 — Hands Together on Repertoire
The biggest mistake students make this week? They speed up where they're comfortable and grind to a halt the moment both hands have to do something new. It's not laziness — it's just how the brain works when coordination is still fragile. And if you don't address it early, it becomes a habit that takes months to undo.
Here's what actually works: slow everything down to crotchet = 50 and keep it there. That's the whole job this week. Take the piece from Week 4 and rebuild it with both hands together at that tempo — not faster, even when it feels easy. Especially when it feels easy.
The phone trick is dead simple and remarkably effective. Record your student playing through the piece, then play it back immediately. They'll hear the tempo map themselves — the rushed familiar passages, the awkward crawl through the tricky bar — and that self-awareness lands harder than anything you could tell them.
Alongside the repertoire work, you're introducing quavers (eighth notes) in sight-reading this week, so budget time for that. The warm-up — roughly ten minutes — covers the C and G five-finger exercises hands together. Then twenty minutes on the hands-together repertoire, keeping that crotchet = 50 target honest. Finish with five minutes of triad ear training: major versus minor identification. Short, but it builds fast if you're consistent.
The G major five-finger exercise hands together also gets its first outing this week. Don't rush past it. Some students will find the coordination surprisingly awkward compared to C major, and that's worth noting.
By end of session, the student should be able to play the full Week 4 piece — both hands, no stops, crotchet = 50. That's the line.
Week 6 — Introducing a New Key: G Major
F-sharp is the whole point of this week. Not G major as a concept, not the new key signature — specifically that one sharpened note, and whether your students can actually hear it, name it, and not forget it the moment their fingers get involved.
The scale itself is one octave, hands separately. That's the target. And alongside it: understanding why there's a single sharp in the key signature, reading simple crotchet-and-quaver patterns in G major, and — this one takes a bit of ear work — learning to recognise the sharpened 7th degree by sound alone.
Here's how the session breaks down: ten minutes on scale warm-up, twenty on sight-reading and key signature work, five on ear training. The ear training slot feels short, but a focused five minutes on one specific interval is worth more than a distracted fifteen.
The mistake you'll see constantly: students learn the fingering, start playing the scale at tempo, and promptly forget F-sharp exists. Not because they don't know it's there — they do. But the cognitive load of the fingering crowds it out. Fix this before it becomes a habit. Drill the key signature in isolation first. Get them saying "one sharp, F-sharp" before they touch the keys. Then bring the scale in.
By the end of the week, each student should play the G major scale hands separately at crotchet = 80 and correctly identify F-sharp in a short sight-reading excerpt. Both things. Not just one.
Week 7 — Second Repertoire Piece
Here's something that happens almost every time you introduce a second piece: students get excited, and that excitement turns into rushing. Keep that in mind this week.
The new repertoire is either "Minuet in G" (simplified Bach-style) or "Morning" from Peer Gynt — Grieg, adapted — and you're only tackling the A section, bars 1–8. That's it. No more than that.
Alongside learning those eight bars, students are picking up the dotted minim (dotted half note) and reading repeat signs for the first time. The ear training thread continues too — this week it's about recognising stepwise motion versus leaps in a melody, which ties in nicely with whatever piece they've chosen.
The dotted minim is where things fall apart. Almost without fail, students shorten it — they feel the two beats and move on before the third arrives. The fix is embarrassingly low-tech: get them to count the dot out loud. Literally say "1-2-3" for every single dotted minim until it's in their body, not just their head. It works.
Structure the session like this: five minutes on C and G scales to warm up, twenty-five minutes on the new piece, five minutes of ear training at the end.
By the close of the week, each student should be able to play bars 1–8 of their chosen piece hands separately — and they need to observe the repeat signs when they do it, not skip past them like they don't exist.
Week 8 — Consolidation and Sight-Reading Push
Five new eight-bar melodies this week — one cold read per session, no previewing, no fingering it out first. Just put the music in front of them and go. That's the whole point of a sight-reading push: you're training the brain to process notation in real time, not to prepare a performance.
The target is 80% rhythmic accuracy on a first-attempt read of any eight-bar piece in C or G major. And here's where most beginners fall apart — they treat sight-reading like careful decoding. They stop. They look at the next note. They stop again. Every pause kills the pulse, and once the pulse is gone, it's not really music anymore, it's just... note retrieval.
Enforce this rule hard: a wrong note in time beats a right note that stops the music. Say it out loud in class. Write it on the board if you have to. Getting students to keep moving is the actual skill being built here — not perfect pitch selection.
Alongside the sight-reading work, this week also brings in slur and tie markings (introduce them, explain the difference, and make sure they appear in at least two of your five melody examples), plus daily ear training: sing back a four-note melodic pattern. Four notes, sung. Simple, but students who've never done it will find it genuinely uncomfortable at first.
Session structure runs roughly like this:
- 10 minutes — cold sight-read of a new piece
- 15 minutes — repertoire review, consolidating both pieces
- 10 minutes — ear training with sung melodic patterns
For the week's assessment, give them an unseen eight-bar melody — something they genuinely haven't touched — and watch them read it. Then both repertoire pieces, hands together. That combination tells you a lot: how they handle the unknown versus how they've consolidated the known.
Week 9-12: Integration
Week 9 — Expressive Playing and Dynamics
Here's a question worth sitting with before this session: do your students actually know what they sound like? Most beginners don't. They've been so focused on hitting the right notes at the right time that volume hasn't really entered the picture yet. Week 9 is where that changes.
The goal this week is simple to state, harder to execute — students need to apply dynamic markings (p, mp, mf, f) and start shaping phrases in both their repertoire pieces. Not just recognise the symbols on the page. Actually do something with them.
What you're covering:
- Crescendo and decrescendo held across four bars
- The physical difference between legato and staccato touch
- How to read and interpret phrase marks
- Ear training — listening to a short recorded excerpt and identifying which phrases are louder or softer
Time split: 10 minutes on technical and dynamic exercises, 20 minutes on expressive repertoire work, 5 minutes of listening-based ear training at the end.
Now, here's the thing about dynamics and beginners — they get it intellectually. Ask a student what piano means and they'll tell you "soft." Then watch them play everything at exactly the same volume anyway. It's not defiance. It's that their hands haven't caught up with their understanding yet.
The fix? Exaggeration. Push them to actual ff and genuine pp before you ask for anything musically nuanced. It feels ridiculous to them at first — almost theatrical — but it's the fastest way to break the flatline. Once they've felt both extremes in their fingers, landing somewhere reasonable in between becomes possible.
Assessment: By the end of the week, each student performs Piece 1 with at least two clearly distinct dynamic levels — distinct enough that a listener sitting three metres away can hear the difference without being told where to listen.
Week 10 — Introducing a Third Piece and Quaver Rhythms
Picture the moment a student first encounters quavers on a page — that brief pause before they attempt something that looks, to them, like a completely different language. Week 10 is exactly that moment, and it's one of the more interesting ones to teach through.
The new piece this week is Jingle of Joy (teacher-composed, 8 bars) — or any ABRSM Grade 1 listed piece if you'd prefer to swap it in. Either way, the focus is the same: getting students comfortable with quaver pairs and quaver-crotchet combinations, learning the A section of the new repertoire, and doing some rhythmic ear training through clapping back patterns.
Here's how the session breaks down — 10 minutes on rhythm warm-up (clapping), 20 minutes on the new piece, and 5 minutes of rhythmic ear training at the end. Keep that final block short. Five minutes of focused listening beats fifteen minutes of wandering through it.
The mistake you'll see constantly this week: students swing the quavers. They're not trying to — it just happens, almost automatically, because swung rhythm feels more natural to a lot of young players. The fix is dead simple before you even touch the instrument. Have them clap the pattern on a flat surface first, no pitches involved, until the evenness is there. Once their hands know what even quavers feel like, the instrument follows much more readily.
By the end of the week, each student should be able to clap a four-bar rhythmic pattern containing quavers accurately — and then play that same pattern on their instrument. That's the target. Clap it, then play it.
Week 11 — Performance Preparation
Here's the mistake almost every beginner makes when it comes to performance week: they stop. Something goes wrong in bar six, they freeze, they go back to the beginning, and they do it again. And again. By the time the actual performance arrives, they've practised stopping dozens of times — which is, unfortunately, exactly what they're training themselves to do.
Week 11 is about unlearning that habit. The target is straightforward: both pieces, from memory, at ABRSM Grade 1 performance tempo, no interruptions. Not "mostly from memory." Not "with a few restarts." All the way through.
Sessions this week are structured around performance simulation — and that means real conditions. Start from the beginning, don't stop, don't correct mid-phrase, and absolutely don't restart after a mistake. The error happened. Move on. Recovery is a skill, not a consolation prize, and it needs to be drilled the same way fingering does.
The session breakdown: 5 minutes of warm-up, 25 minutes of performance run-throughs, 5 minutes of ear training. That 25-minute block should feel a little uncomfortable — that's the point.
On the ear training side, students are introduced to identifying a three-chord progression (I–IV–V) by ear this week. Keep it simple. You're not building theory nerds; you're building listeners who can orient themselves in a piece of music.
There's also a brief introduction to improvisation using the C major pentatonic scale — C, D, E, G, A. Don't overthink this one. Even five minutes of free exploration over a simple backing gives students a sense of ownership over the instrument that written pieces alone don't always provide.
Assessment this week is exactly what it sounds like: student performs both pieces without stopping, regardless of what happens along the way. Errors are fine. Stopping is not.
Week 12 — Final Assessment and Celebration
Week 12 is simple: students show what they've got.
Two performed pieces. Sight-reading on an unseen eight-bar extract. Ear tests — interval identification, melodic echo, rhythm clapping. And a moment of honest self-reflection where they tell you, in their own words, what changed over twelve weeks. That's the full picture of where a Grade 1-level musician should be sitting by now.
The session runs tight: five minutes to warm up, thirty for the mock assessment itself, five to debrief and actually celebrate. Don't let the debrief get swallowed by admin. The celebration bit matters.
One thing worth flagging before you even start — nerves speed everything up. A piece that's been clean and steady for three weeks will suddenly run away from a student the moment it counts. This isn't a failure. It's completely normal, and the kindest thing you can do is name it out loud before the assessment begins. Tell them you're expecting it. Tell them it happens to everyone. It won't stop it happening, but it takes the panic out of noticing it mid-piece.
After the session, write up a proper assessment for each student. Something they (or their parents) can actually read and keep. And if you want to send them off with something tangible — Lynk's free certificate generator lets you put together personalised completion certificates in minutes. It's a small thing, but walking out with a printed certificate in hand hits differently than just being told "well done."
Editable lesson plan template
Here's a small but genuinely useful habit — keep a filled-in copy of this template for every session you run. By week eight or nine, you'll be able to flip back through them and actually see where the class lost momentum or where something clicked ahead of schedule. That's worth more than any end-of-term gut feeling.
Copy the block below. Fill it in before (or right after) each class.
Date: ____   Class: ____   Level: ____

Goal of session:

Warm-up (5 min):

Skill practice — Sight-reading (8 min):

Skill practice — Ear training (7 min):

Skill practice — Repertoire (15 min):

Cool-down / reflection (5 min):

Sight-reading : Ear training : Repertoire ratio: __ : __ : __

Notes / observations:

Next session priority:
The ratio line is the one most teachers skip — don't. If repertoire keeps swallowing the ear training slot week after week, you want to catch that on paper, not in hindsight at week eleven.
How to adapt for different levels
After Week 12, move straight into ABRSM Grade 1 proper — or your school's equivalent internal progression. That means introducing full one-octave C major and G major scales hands together, shifting students out of five-finger positions into full-hand movement, and getting them reading two voices in the treble clef simultaneously (melody and harmony, not just one line at a time). Ear training changes too: single intervals aren't enough anymore. Start pushing toward chord quality identification.
Need 24 weeks instead of 12? Simple. Double each phase.
Weeks 1–8 run Foundation and Building exactly as described here. Weeks 9–16 go deeper into Integration — three-part repertoire cycles, exposure to minor keys (A minor and E minor specifically), and timed sight-reading that happens regularly, not occasionally. The final stretch, Weeks 17–24, is all performance polish: recording sessions with playback review, mini-recitals in front of a small guest audience, and structured prep for any external exam. The lesson plan template above still holds at 24 weeks — just add a "Term goal" field at the top and you're sorted.
Group settings need one specific adjustment. Sight-reading and ear training? Both work beautifully as whole-class activities — no changes needed there. But repertoire practice is a different story. Don't try to run the whole group through the same piece at the same time. Stagger students with different repertoire so you can actually move around the room and give each person useful feedback, rather than standing at the front watching everyone muddle through simultaneously.
Common pitfalls when teaching this curriculum
And the one that gets cut first — every single time — is ear training. Lesson runs five minutes over, something has to give, and that's the block that goes. Fight the urge. Three minutes of clapping back a rhythm isn't filler; it's the kind of thing that quietly compounds over weeks until suddenly your student is hearing music differently. Don't sacrifice it.
Sight-reading gets misused constantly. Teachers tuck it at the end of a session, almost as a reward for finishing everything else — but that's backwards. Cold reading is harder than warm reading (that's actually the whole point of practising it), so it needs to happen early, when the student's mind is still fresh. Save it for the final ten minutes and you're just setting them up to struggle more than necessary.
Over-correcting posture mid-phrase is one of the fastest ways to make a student anxious about playing. Stopping every 20 seconds to fix a wrist position kills musical flow — and after a while, kids start bracing for the interruption before it even comes. Note it. Let the phrase finish. Then fix it.
Don't move to Week 5 until Week 4's assessment is genuinely solid. Not "good enough." Solid. The hands-together work in Week 5 is built entirely on the assumption that hands-separate fluency is already there — if it isn't, you're not just slowing things down, you're doubling the difficulty for no reason. An extra session on Week 4 is never wasted.
Last one, and it's boring but it matters: write your observations down. The notes field in the lesson plan template exists for a reason. If you don't record what tripped your student up on Tuesday, you'll spend Thursday making the exact same correction and wondering why nothing's landing. You're not going to remember. You never do.
Frequently Asked Questions
How many lessons per week does this curriculum assume?
Picture a seven-year-old on a Tuesday evening, barely fifteen minutes at the keyboard before dinner. That's the baseline this curriculum is built around — not the kid who practises obsessively, but the realistic one.
The schedule assumes one lesson per week (30–45 minutes), with two or three short practice sessions at home across the rest of the week. Ten to fifteen minutes each. That's it. The weekly goals are deliberately scoped to what's actually achievable on that kind of time budget — no heroics required.
Students who do manage to practise every day? They'll move faster. The 12-week arc can compress quite a bit if the repetitions are coming in daily rather than twice a week. But the template doesn't depend on that. It works either way.
Can this curriculum be used for instruments other than piano?
The biggest mistake people make with this curriculum is assuming it's piano-only. It's not — and honestly, the core of it travels surprisingly well.
Sight-reading and ear training? Those transfer directly to any pitched instrument without you changing a thing. That's the bulk of the early work right there.
Where you do need to swap things out is the five-finger exercises. Replace those with whatever counts as first-position fundamentals on your instrument — open strings and first-position scales if you're teaching violin, long-tone exercises and basic fingering patterns for wind instruments. Same developmental purpose, different physical translation.
And the ABRSM Grade 1 framework holds up across most instruments anyway, so the progression logic stays intact even when the technique drills change.
What if a student has no home instrument to practise on?
Honestly? Progress will be slower. There's no way around that. But it doesn't mean you scrap the curriculum — it means you work the lesson time differently. Lean harder into sight-reading and ear training, because those skills travel with the student regardless of whether there's an instrument at home. Repertoire repetition, on the other hand, needs practice outside the lesson to actually stick — so if that time doesn't exist, don't burn the session on it.
Tell the parents early. Not gently, not buried in a newsletter — early and clearly. Home instrument access is the single biggest factor in how fast a beginner moves. Everything else is secondary.
How do I handle a student who's learning faster than the 12-week pace?
Here's something that comes up more than you'd expect: a student who's clearly lapping the rest of the class by week three or four. The instinct is to just... skip ahead. Jump them to Week 6 material. But don't.
The better move is depth, not speed. Give the