Sample Coding & Robotics Curriculum for Beginners (Editable Template)
By Swathi N ·
A 12-week coding & robotics curriculum template for beginners — CSTA-aligned, editable, and built so students go from zero to debugging their own projects.
Picture the first day of class: half your students have never written a line of code, a few are convinced robots are basically magic, and one kid in the back is already asking if they can make the robot "do a flip." Twelve weeks later, that same group is writing structured programmes, debugging their own projects without asking you every five minutes, and driving a robot chassis they built themselves. That's the actual goal here — not a vague promise of "digital literacy," but something measurable you can watch happen in front of you.
This curriculum is built around two frameworks. The CSTA K–12 Computer Science Standards (Computer Science Teachers Association, 2017 revised framework) form the backbone, and the ISTE Standards for Students layer in computational thinking as something that bleeds across subjects — not a skill you park in one classroom and forget.
By Week 12, students will be working in both block-based and introductory text-based code. Not just copying syntax — actually writing structured programmes. They'll also have built and controlled a basic robot chassis, and (this is the part worth emphasising) they'll be able to debug their own work independently. That last one is harder to teach than it sounds.
How this curriculum is built
Here's the mistake most people make when designing a beginner coding curriculum: they spend the first few weeks in "input mode" — the teacher demonstrates, students watch, nobody actually builds anything. By the time students get their hands on a real project, half of them have mentally checked out.
This plan doesn't do that. From Week 1, students are making things. Doesn't matter if it's five lines. A five-line programme is still a programme they wrote, and that sense of ownership — early, before frustration sets in — turns out to be the whole game.
Spiral sequencing is the second big structural decision. Loops and conditionals show up in Week 2. They come back in Week 6 with more complexity layered on. Then again in Week 10, now sitting inside a robotics context. The goal isn't to cover a concept once and move on — it's to keep returning to the same ideas with enough new material around them that students genuinely understand more each time.
Every single week includes a deliberate error activity. Broken code, students find the bug, students fix it. Repeatedly. The reason is simple: "my programme doesn't work" is either a catastrophe or a starting point, depending entirely on what students have been taught to do next. Debugging isn't a failure state here — it's a skill, trained like any other.
On the hardware side, robotics isn't a reward. It's not something students get to touch after they've "earned it" by finishing the coding unit. That's a design choice with consequences — it signals that hardware is somehow harder, or more special, and that most students probably aren't ready for it yet. Instead, physical and digital work run in parallel from Week 3. Code on Monday, motors on Wednesday.
And the entry point matters enormously. A student who's never typed a single line of code needs to succeed on Day 1 — not eventually, not after catching up, on Day 1. At the same time, a student who already knows Scratch cold can't be bored inside the first fortnight. Low floor, wide walls: that's the design principle, and it's harder to execute than it sounds.
Week 1–4: Foundation
Week 1 — Orientation and Block Coding Basics
Here's something that happens in almost every first session, without fail: a student finishes building their script, hits the green flag, and absolutely nothing moves. They've placed every block correctly — except none of them are snapped to the event trigger. The whole thing just sits there, inert, looking like a programme but doing nothing. Get ahead of this by doing a quick "run check" lap around the room before you hit the cool-down phase. Takes two minutes. Saves a lot of frustration.
But let's back up.
The goal for Week 1 is dead simple: every single student writes a programme and watches it run, within the first session. Not next week. Not after they've "understood the theory." This session. That first moment of seeing a sprite actually move because of something they built — that's the hook, and you want every student to feel it.
Skills on the table this week are the Scratch interface itself (just orientation, nothing fancy), the basic movement blocks — move 10 steps and turn 15 degrees — plus the when green flag clicked event block and a first look at the forever loop. That's it. Don't rush past these to get to something more impressive-looking. The forever loop alone will click for some students and completely baffle others, and you'll want to know which is which before Week 2.
Structure the session roughly like this: 10 minutes unplugged (a directional commands game works well — get them physically acting out sequences before touching a screen), then 30 minutes of hands-on Scratch practice, then 5 minutes of cool-down with a reflection journal prompt. The unplugged opener isn't filler. Students who've never thought about sequential instructions need that physical warm-up to make the block logic feel intuitive rather than arbitrary.
For the week's assessment, students export a Scratch project showing a sprite moving in a continuous square loop. You're checking two things: the correct event block is in place, and there's at least one loop structure doing the repetition work. If either's missing, that's your coaching note for next session — not a failure, just a flag.
Week 2 — Conditionals and User Input
Start with the warm-up: five minutes, true/false human sorting. Call out a statement — "Dogs are mammals," "The sky is green," whatever — and students walk to opposite sides of the room based on their answer. It sounds trivial. It isn't. You're physically encoding the logic of if/then/else before anyone opens a laptop, and that embodied memory genuinely helps when the abstract block version shows up in Scratch.
Then it's straight into 35 minutes of Scratch practice, followed by five minutes of pair-share debugging at the end.
The blocks you're building toward this week: if/then, if/then/else, the key pressed sensing block, touching color, and a simple score variable using change score by 1. That last one tends to get students genuinely excited — suddenly the program is keeping track of something, which feels like a real game rather than a demo.
Here's the error you'll see constantly: a student nests an if block perfectly, runs the programme, nothing happens — and immediately concludes that conditionals are broken or that they did it wrong. Nine times out of ten, they forgot the forever loop around it. Without the loop, Scratch checks the condition exactly once at the start and moves on. The fix takes four seconds once you spot it, but students will spend ten frustrated minutes convinced the block itself is faulty. Worth flagging this explicitly before they start, not after.
For assessment, each student needs to build a keyboard-controlled sprite that changes costume when it touches a coloured backdrop — and both branches have to visibly trigger. Not just the if path. The else path too. If only one branch fires, it hasn't been tested properly, and that distinction (does the whole condition work, or just the happy path?) is exactly the thinking habit you're trying to build from week two onwards.
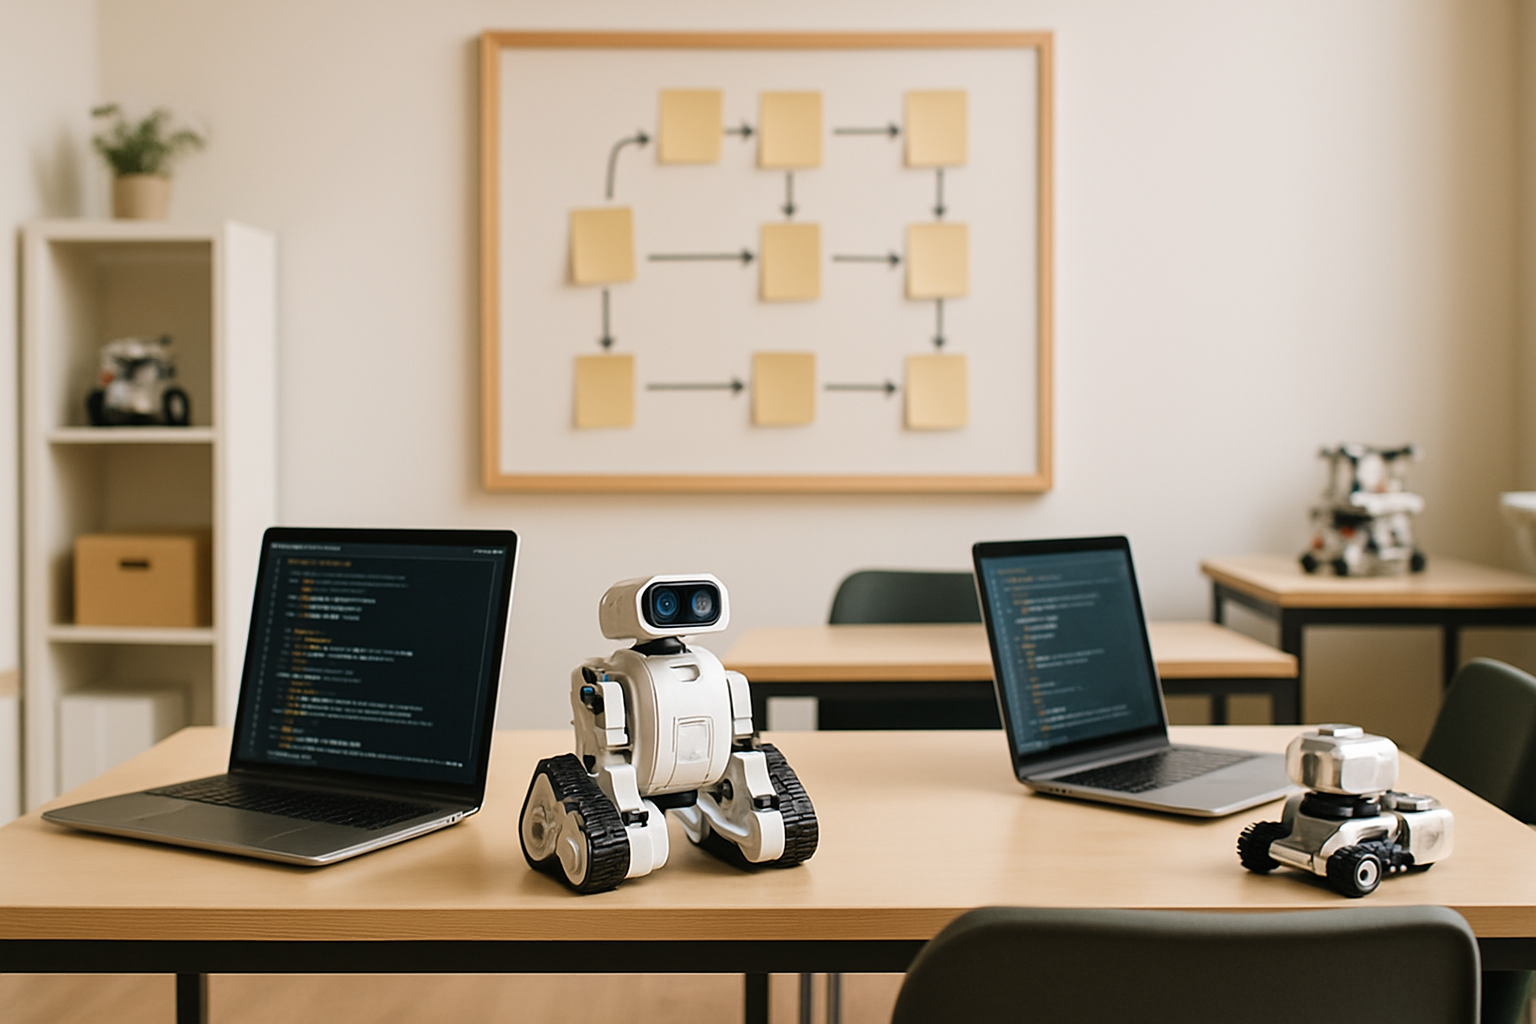
Week 3 — Loops, Repetition, and First Hardware Contact
So by now your students have spent two weeks living inside a screen — and that's about to change.
Week 3 is where loops finally get a physical counterpart, and where the robot kit comes out of the box for the first time. If you're using micro:bit or LEGO Education SPIKE Essential, pick one and don't switch. Mid-unit platform changes are a nightmare. Stay consistent.
The coding side of this week is about comparison. Not just using loops — actually understanding why you'd choose repeat X times over forever and vice versa. That distinction trips up a surprising number of kids who think they've already "got" loops. Throw in wait block timing and you've got enough to keep a 20-minute Scratch session genuinely busy.
Warm-up first, though — five minutes of loop counting as a physical activity. Clapping, jumping, whatever gets them moving and thinking in repetition before they open a laptop. It sounds silly. It works.
Then the hardware comes out.
The first task is physical assembly — wheels, chassis plate, robot base. Simple enough, except there's one thing you need to say out loud before anyone touches a screwdriver: "snug, not tight." Say it twice. Write it on the board if you have to. Because without that warning, at least a few students will strip the chassis screw holes by overtightening, and once that plastic threads, the session's basically over for them. It's the single most common hardware error at this stage — and it's completely preventable.
Once the chassis is together, students get their first LED programme running: a scrolling name message on the micro:bit display. Classic "Hello World" energy, but personalised, which matters more to a twelve-year-old than you'd expect.
By end of session, each student should have an assembled robot base and a working scrolling message. Both get checked off against a physical checklist — not self-reported, actually verified. If the chassis wobbles or the message doesn't scroll, it doesn't get ticked.
Week 4 — Variables and Data
Here's something students ask almost every week at this stage: "Why does my score keep resetting to zero?" Nine times out of ten, the answer is variables — specifically, not understanding what they actually are or how Scratch is reading them.
That's the whole focus this week. Variables as containers for information that changes — scores, distances, timers, anything that needs to update as the programme runs. Not abstract theory. Actual, working code that does something visible.
The warm-up is worth doing properly. Five minutes, one student, one number card. They stand at the front holding the card. You call out a new number — they swap it. That's it. Dead simple, but it clicks something in the room. The variable isn't the number. It's the box holding the number. Once they've seen a classmate physically swap values on command, set variable to and change variable by make immediate sense rather than abstract sense.
From there, thirty minutes of Scratch drills building up to the real task: a countdown timer that ticks from 10 to 0 and displays "Game Over" when it hits zero. The variable logic has to drive the countdown — no manually placed broadcasts as a workaround. If a student's timer works but they've cheated the variable requirement, they haven't actually learned what you needed them to learn this week.
The micro:bit thread this week introduces the input → button A pressed event, which pairs well with variable logic — students can start seeing how physical input changes stored values.
Watch for one specific error, because it will happen in almost every class: duplicate variables named "Score" and "score." Two different variables in Scratch's eyes. Students stare at the screen completely baffled as to why the counter won't increment, and it's because they've been updating one variable while reading from the other. Fix it by addressing case-sensitivity and naming conventions out loud, explicitly, before the drills — not after half the class has already hit the problem.
Week 5–8: Building
Week 5 — Functions and Reusable Code
Here's the mistake almost every beginner makes with functions: they build the block, give it a name, feel satisfied — and never actually call it anywhere. The definition sits there doing nothing. And when you ask them to run the programme, they're genuinely confused about why nothing changed. That's the moment to draw the hard line between defining a function and invoking it. Don't skip past it.
This week is about teaching students that copy-pasted code is a warning sign, not a solution. When you see the same block of instructions appearing three times in a project, that's not a working programme — that's a maintenance nightmare waiting to happen. The fix has a name: functions. In Scratch, they're called Make a Block (listed under custom blocks). In MakeCode for micro:bit, you're looking for the function block. Different labels, same idea.
Start the session with the recipe analogy — five minutes, unplugged. A recipe is basically a function: you name it ("make pasta"), you define the steps once, and then anyone in the kitchen can follow it just by calling its name. You don't rewrite the instructions every time someone wants pasta. That's the whole point. Get students talking about this before they touch a screen, and the abstract concept lands much faster.
Then comes the 35-minute practice block, which is where the real work happens. Students aren't building something new — they're going back into their Week 2 project and refactoring it. Find the repeated code. Pull it out. Wrap it in a named function. Call that function wherever the repeated code used to live. It's unglamorous work, honestly, but it's exactly how real programmers think.
For assessment, each student compares their Week 2 code against the refactored version and documents both in their project journal — a genuine before-and-after. If they can point to a named function and explain what it replaced, they've got it. That's the bar.
Finish with five minutes of reflection. Ask one question: where else in their project could a function be useful? You'll be surprised what they spot once they know what to look for.
Week 6 — Sensors and Robot Movement
Half the class will have robots that drive backward on the first test run. Not because they coded it wrong — because of how the chassis was wired. That's actually the best possible outcome for week six, because it hands you a live debugging lesson on a plate.
This week's whole point is simple: code should move something physical. Students write programmes that drive their robot forward, reverse it, and execute a timed turn — and they have to reckon with the fact that hardware and software don't always agree with each other.
The blocks they'll be working with in MakeCode: motors forward at speed X, motors turn left for Y ms, and the pause block. They'll also get their first look at the micro:bit's accelerometer tilt input, which tends to get a genuine reaction from students who didn't realise the board could sense movement.
When motor direction goes wrong — and it will — resist the urge to fix it in hardware. Flip the motor polarity in code instead. Walk them through why that works. This is the kind of thing students remember, because it's a real problem with a non-obvious fix that they solved themselves.
Session breakdown:
- 5 min — physically estimate distances before measuring anything (gets them thinking spatially)
- 15 min — MakeCode coding session
- 20 min — robot floor testing
- 5 min — group debrief
For assessment, the bar is clear: the robot drives 50 cm in a straight line and stops. Then the student explains — two sentences, no more — what they actually changed during debugging. Writing it out forces them to articulate the logic, not just remember that they clicked something until it worked.
Week 7 — Obstacle Detection and Conditionals in Hardware
Here's something that happens in almost every class when you introduce ultrasonic sensors for the first time: a student waves their hand in front of the sensor, sees nothing happen, and immediately declares the sensor "broken." Nine times out of ten, it's wired to the wrong GPIO pin. Worth keeping that in mind before the session even starts.
This week is where the hardware and the logic finally shake hands. Students wire up an ultrasonic distance sensor, then write a conditional in MakeCode — if distance < 15 cm then stop — so the robot isn't just following instructions anymore. It's reacting. They'll also get into combining conditions using and / or operators, which sounds abstract until your robot needs to stop and turn at the same time.
The warm-up alone is worth five minutes of your class time. Blindfold a student, put a classmate in front of them, and have the classmate shout "stop" whenever the blindfolded student gets too close. It's ridiculous, it's fun, and it makes the ultrasonic logic click in a way that no whiteboard diagram ever does. From there: 15 minutes on wiring and sensor setup, 20 minutes in MakeCode, 5 minutes to cool down and reflect.
Back to that wiring error — because students will hit it. The fix isn't just telling them the right pin. Teach pin-checking as a diagnostic habit: before assuming anything is broken, verify the wiring. That single instinct will save them hours of frustration across every project they ever build.
By end of session, the robot should stop before hitting a wall placed at 10 cm. Students also sketch their sensor pin wiring in their journals — which doubles as both a record and a built-in check that they actually understood what they connected.
Week 8 — Mini-Project Sprint
Hand every student a blank spec sheet on day one of this week. Four boxes: goal, inputs, outputs, constraints. That's the entire planning document — deliberately minimal, because the point isn't to produce beautiful documentation, it's to force students to think before they code.
The session splits roughly like this: 10 minutes planning, 30 minutes building, 10 minutes peer review, 5 minutes reflection. In practice, that 30-minute sprint will feel both too long (for students who overscoped) and brutally short (for everyone else). That tension is the lesson.
And overscoping will happen. Almost every student, every time. They'll write "a full platformer game with three levels and a boss fight" in the goal box and look genuinely surprised when they've got 8 minutes left and nothing runs. The fix is a rule you'll repeat until you're tired of it: build the smallest version that works first. One scene. One robot task. One win condition. Ship that. Then add features if time allows.
The skills pulling together here are everything from Weeks 5–7 — and specifically, broadcast and receive event coordination in Scratch, which tends to be the thing that either holds a project together or causes it to silently fall apart. Peer review is where that gets exposed. Each reviewer works through a short checklist: does it actually run? does it do what the spec said it would do? Two questions. That's it. Simple enough that students take it seriously rather than rubber-stamping each other's work.
Assessment is the completed project — either a Scratch game or a robot challenge task — presented directly to a partner. No audience, no pressure, just one student showing another student what they built and the reviewer asking those two checklist questions out loud.
Week 9–12: Integration
If you're thinking about how to actually structure the individual lessons inside this phase — not just what to teach, but how long to spend on each part, when to pause, how to sequence a 45-minute block so students don't zone out halfway through — How To Write A Lesson Plan Format Tips Samples And Examples is worth a proper read. It gets into format choices and pacing in a way that maps surprisingly well onto coding classes specifically.
Week 9 — Python Introduction (Text-Based Transition)
So here's what every beginner teacher eventually wonders: when do I actually pull the blocks away? Week 9 is your answer.
The jump from Scratch to Python is the biggest gear-shift in this entire curriculum — and it's also the one students remember years later. This week, you're not just introducing a new tool. You're telling them: real programmers type their code. No more dragging. No more colour-coded blocks. Just a cursor, a blank file, and print().
Here's what they'll actually be writing this week: the print() statement, input() for grabbing user responses, int() to handle type conversion (expect blank stares the first time you explain this — totally normal), a while True loop with a break condition, and by the end of the week, a fully working number-guessing game.
Structure each session roughly like this:
- 5 minutes: Warm-up — put a Scratch block and its Python equivalent side by side and ask students to spot the difference. Takes almost no prep and gets their brains switching modes immediately.
- 35 minutes: Python typing practice. Actual typing. Encourage them to write it out rather than copy-paste — muscle memory matters here.
- 5 minutes: Exit ticket before they pack up.
The mistake almost every student makes this week? Indentation. They've spent weeks looking at Scratch's visual nesting — blocks inside blocks, colour-coded and obvious. Python doesn't do that. Python uses spaces, and it will throw an IndentationError the moment something's off by even one character. Don't treat this as a failure. Make it a badge of honour — their first real Python error, which means they wrote real Python code.
By the end of the week, each student should have a working number-guessing game: the programme picks a number, the player guesses, and the game responds with "too high" or "too low" until they get it — counting every attempt along the way. If it runs without errors and actually plays, that's your assessment done.
Week 10 — Loops and Lists in Python
Picture this: it's the start of session ten, and you hand each student a sticky note with a random number on it. You ask them to line up in order. They shuffle around, argue a little, eventually sort themselves out — and then you tell them: that's a list. That's exactly what Python's doing when you write myList = [4, 17, 3, 9, 22]. The concept lands so much faster when it's been physical first.
This week is where Python starts feeling like an actual tool rather than a puzzle. Students get comfortable with for loops using range(), learn to build and index lists, use the append() method to grow them dynamically, and write their first real algorithm — iterating through a list to find the maximum value. Not a huge syllabus. But done right, it sticks.
Structure the 45 minutes roughly like this: five minutes for the sticky-note warm-up, thirty-five minutes of hands-on practice (pair coding works well here), and a final five-minute debugging drill where partners deliberately break each other's code and swap to fix it. That last bit sounds chaotic. It isn't — students spot errors faster when the code isn't their own.
One thing that will almost certainly happen: someone writes range(5) expecting the output to include 5. It won't. And they'll be baffled. This is the off-by-one error, and it's basically a rite of passage. Don't just correct it and move on — take the five-minute detour, draw it on the board, explain zero-indexing properly. If you skip this, you'll be answering the same question every session for the next month.
The week's assessment is clean and purposeful: students write a Python programme that prompts the user to enter five numbers, stores them in a list, then prints the highest. It's not flashy, but it touches every skill from the week — loops, list creation, indexing, append(), and basic logic. If a student can do this independently, they're genuinely ready for what comes next.
Week 11 — Final Project Planning and Prototyping
Here's the mistake that kills almost every group project at this stage: someone decides one person does "the code" and another does "the hardware," and they don't talk to each other until minute forty-eight of a fifty-minute session. The two halves don't connect. Nobody knows why. Everyone panics.
Don't let that happen. Build in integration checkpoints every fifteen minutes — not as a formality, but as a hard stop where both sides actually test whether their work talks to the other person's work. It's the single intervention that saves Week 12.
What students are doing this week is defining and starting their capstone project — the one that pulls coding and robotics together into something that actually does a thing. Before they touch hardware, each group writes a project brief: the problem they're solving, their proposed solution, which hardware components they'll use, and a rough plan for their Python or MakeCode code. That brief gets approved before prototyping starts. No approved brief, no build time — hold that line.
Session split: ten minutes on the brief, thirty-five minutes building the first prototype, five minutes on a group status check-in at the end. The check-in isn't optional. That's where you catch the "we haven't tested anything together yet" groups before they spiral.
Pair programming protocol applies throughout — both partners engaged, roles rotating, not one person typing while the other watches YouTube.
By the end of the session, each group should have two things: an approved brief on file, and a prototype showing at least one working component. Doesn't have to be pretty. It has to work.
Week 12 — Final Project Presentation and Reflection
Week 12 is simple: students show their work. No more building, no more debugging at the last minute (well, ideally). Just stand up, demo the thing, and talk about it like a human being.
What you're actually assessing here isn't just whether the robot works. It's whether your students can explain what they built, why they built it that way, and — this is the part most beginners skip — what they'd do differently if they started over. That last question is where the real learning surfaces.
Structure each presentation around three things: what it does, how it works, and what they'd change. Keep it tight. Three to four minutes per student or team, forty minutes total for presentations, ten minutes at the end for the whole class to reflect together. Five minutes at the start for setup. That's your session.
Here's the thing nobody tells first-time presenters: live demos lie. A robot that ran perfectly seventeen times in a row will absolutely freeze the moment twenty people are watching it. So before the final session, every student needs to run their demo at least once with a real audience — even if that audience is just one other person. One rehearsal. That's the difference between a confident presenter and a kid staring at a stationary robot, mortified.
At the end of it all, students get a completion certificate — generate personalised PDFs for each of them using Lynk's free certificate generator. It takes minutes and it means something. Don't skip it.
Editable lesson plan template
Here's a dead simple template — print it, duplicate it, whatever works for you. The habit that actually matters isn't filling it in before class. It's comparing what you wrote to what actually happened afterwards. That gap? That's where your real teaching notes live.
Keep every completed plan in one folder. Physical or digital, doesn't matter. What matters is that six weeks from now, you can flip back and see exactly which session fell apart and why.
Date: ____   Class: ____   Level: ____

Goal of session:

Warm-up (5 min):

Skill practice (20 min):

Cool-down / reflection (5 min):

Hardware / materials needed:

Differentiation notes (extension task / support scaffold):

Notes / observations:
That last field — Notes / observations — is the one most people skip. Don't. Even two sentences scribbled right after class ("half the group finished early, three students still confused by loops") will save you enormous guesswork when you're planning the next session.
How to adapt for different levels
Drop Scratch after Week 12. That's the clearest signal a student is ready to move forward — shift them to Python full-time and don't look back. From there, you're introducing functions with parameters, file I/O (reading from a .txt file), and swapping the micro:bit out for a Raspberry Pi or Arduino. The four-part session structure — warm-up, skill, build, reflect — stays exactly as it is. What changes is how hard each part hits.
If you're running a 24-week programme, think of it in two clean phases. Weeks 1–12 are your foundation layer. Weeks 13–24 are where things get genuinely interesting: object-oriented programming, multi-sensor fusion on the robot (distance and light sensors working together), and a full team engineering challenge — design brief, prototype, iteration, public showcase, the works. One specific thing worth scheduling: a structured peer code review session around Week 20, where students actually annotate each other's Python scripts. This isn't busywork. Bad habits from Phase 1 have a way of quietly surviving into Phase 2, and peer review catches them in a way that solo debugging often doesn't.
One admin note that's easy to overlook — if you're billing parents or school coordinators for an extended programme, Lynk's free fee invoice generator handles invoicing without you needing a separate tool for it.
Common pitfalls when teaching this curriculum
Skipping the unplugged warm-ups — look, this one comes up constantly. Teachers see them and think "optional filler." They're not. For a lot of younger students, physically acting out a loop or sorting themselves by a conditional rule is the only thing that makes the abstract stuff land. Cut the warm-ups and you're building on sand.
Debugging sessions that go off the rails. Set a 10-minute clock. Seriously — if a bug hasn't surfaced in 10 minutes, pull the whole class in and walk through it together. A student sitting in silent frustration for half an hour doesn't just lose time. They lose confidence, and that's harder to recover than a syntax error.
Here's one that surprises new teachers: treating hardware failures like they're the enemy. A motor that won't spin isn't a disruption — it's a gift, if you handle it right. Model your thinking out loud. "Alright, let's check the wiring first. Then the code. Then the power supply." Do that a f